There's More to It Than Digging a Hole
Step 1: Site Visit, Design and Contract
Step 2: Engineering and Permitting
Step 3: Yard Scrape, Layout, Excavation and Steel
Step 4: Shotcrete
Step 5: Rough Plumbing
Step 6: Equipment Set and Electrical Hookups
Step 7: Tile and Coping
Step 8: Footer and Decking
Step 9: Screen Enclosure, Composite Roof and Other Structures
Steps 10 and 11: Interior Preparation and Homeowner Walkthrough
Step 12: Interior Surface and Substantial Completion
Step 13: Chemical Startup
Step 14: Pool School
Step 15: Turnover to the Homeowner
Step 16: We're Here for You
Frequently Asked Questions About Pool Construction
Start With a Walk of Your Property
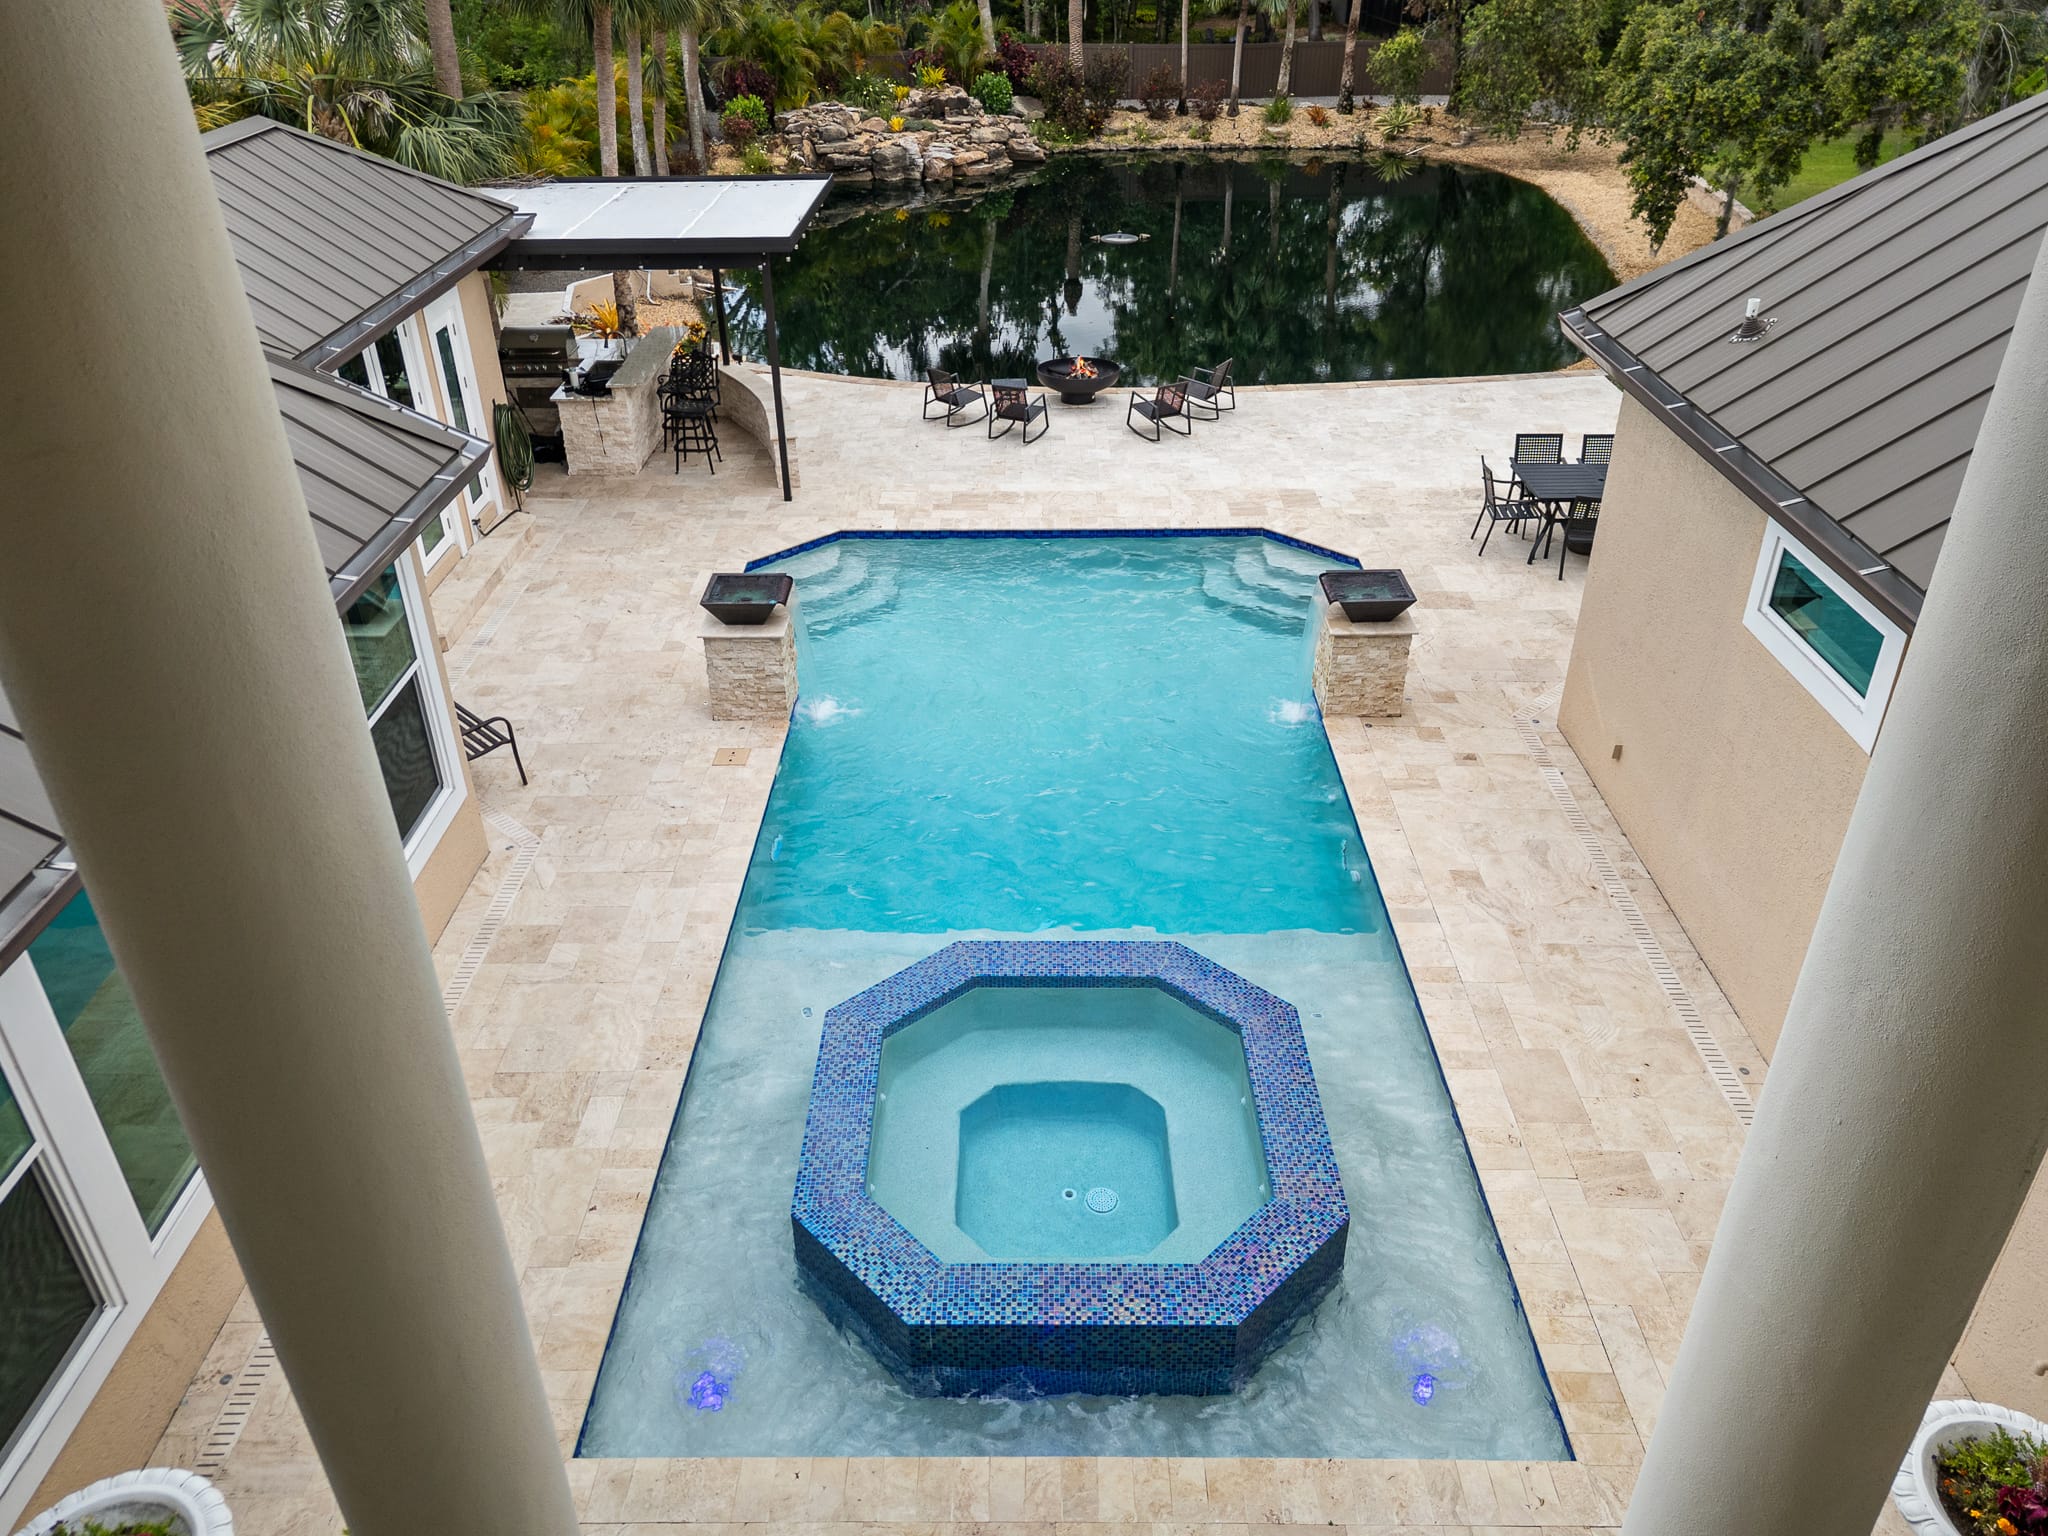
There's More to It Than Digging a Hole
When most homeowners think about building a pool, they picture the obvious parts of construction.
Dig a hole. Install some steel and plumbing. Shoot the concrete. Add tile and decking. Fill it with water.
There's obviously a lot more to it than that.
A custom concrete pool is a permanent structure being built on your property, and many of the decisions that determine how well that pool looks and functions happen long before there's water in it.
So I thought it would be helpful to walk through what actually happens from our first visit to the day we turn the pool over to the homeowner.
One important note before we start: these steps don't always happen in exactly this order.
Every project is different. Scheduling, inspections, material availability, site conditions and the scope of the project can change when certain phases occur. Some work may also happen simultaneously.
Think of this as an overall construction process rather than a rigid schedule.
Step 1: Site Visit, Design and Contract
A custom pool should start at the property.
Before I design anything, I want to understand both the homeowner and the environment we're designing for.
What's access like? What's happening with elevation and drainage? Where can the equipment go? What do you see from the major living areas inside the house? Where does the sun hit the yard? Is there a view we want to preserve? How will people naturally move through the space?
And most importantly: How do you want to use your backyard?
That's where custom design begins.
Setbacks, easements, drainage requirements and local building requirements all need to be accounted for.
Some homeowners know exactly what they want. Others know how they want the finished backyard to feel but need help figuring out how to get there.
My job as a designer is to take that vision, combine it with the realities of the property, and create something that works both aesthetically and functionally.
We work through the pool design, features, materials, equipment and overall scope of the project. Once the homeowner loves the design and is ready to move forward, the project moves from design into pre construction.
Step 2: Engineering and Permitting
Now we need to turn the design into something we can actually build.
Engineering addresses the structure of the pool and any additional structural conditions created by the design or property.
Raised walls, elevation changes, retaining requirements and other structural features may require additional engineering.
At the same time, the project moves through permitting and any other required approvals. Requirements vary by jurisdiction, and the City of Tampa's pool and spa permit page is a reasonable example of what a local authority reviews.
This isn't the most exciting part of building a swimming pool, but it's an extremely important one.
A great design still needs to be properly engineered and legally buildable on the property.
Once the necessary approvals are in place, construction can begin.
Step 3: Yard Scrape, Layout, Excavation and Steel
This is when things start getting real.
The construction area is prepared, which can include scraping the existing yard and removing materials that need to come out before excavation.
Then the pool is laid out.
Something the homeowner has only seen on plans and 3D renderings is now physically marked at full scale in the backyard.
Next comes excavation.
Access becomes important immediately.
A property with wide access may allow us to use a larger excavator and move material much more efficiently. As access becomes tighter, the equipment gets smaller and the amount of labor required generally increases.
Some properties allow excavated material to be loaded directly into trucks. Others require material to be shuttled from the backyard to a separate loading area.
Excavation also gives us our first real look at conditions below grade.
Once the pool has been excavated, reinforcing steel is installed to create the framework for the concrete structure.
At this point, what looked like a hole in the backyard starts becoming recognizable as the pool we designed.
Step 4: Shotcrete
This is one of the most important stages of construction.
Pool Perfection uses wet mix shotcrete for our pool shells.
You'll also hear the term gunite used frequently in the swimming pool industry. Both are forms of pneumatically applied concrete, but they're installed differently.
With traditional dry mix gunite, the dry materials travel through the hose and water is introduced at the nozzle.
With wet mix shotcrete, the concrete has already been properly mixed before it's pumped through the hose and pneumatically placed.
We choose wet mix shotcrete because we prefer the consistency and process control that comes from working with a concrete mixture that has already been properly batched before it reaches the nozzle.
And the concrete placement method isn't the only structural question homeowners should ask.
How is the pool being engineered? How is the beam designed? What reinforcing steel is being used? How are raised walls and significant elevation changes being addressed?
There isn't one universal structural specification appropriate for every pool and every property.
The structure should be engineered around the pool being built and the conditions it's being built in.
Step 5: Rough Plumbing
Now we begin plumbing the pool to the equipment set location that will eventually operate it.
This is where circulation becomes incredibly important.
At Pool Perfection, four pool returns are standard on our new pools. We also account for the skimmer, main drain, dedicated vacuum line and the plumbing required for spas, bubblers, water features and other components of the design.
A simple swimming pool doesn't have the same hydraulic requirements as a pool with a spa and multiple water features.
The plumbing should reflect that.
Pipe sizing, number of lines, feature requirements and the distance to the equipment pad all matter.
A lot of this plumbing will eventually disappear underground.
That's exactly why I think homeowners should care about it.
The things you're eventually not going to see are some of the hardest things to change later.
Step 6: Equipment Set and Electrical Hookups
The equipment pad is where the systems we've designed begin coming together.
Pump. Filter. Sanitation. Heating. Automation. Actuators. Feature pumps. Valves. Lights. Electrical controls.
The equipment package should be designed around the specific pool, features and functionality the homeowner requested.
If the pool has a spa, bubbler, large water features or other high flow components, the equipment needs to be capable of operating them properly. Choosing between a gas heater and a heat pump happens here, and it should be driven by how you plan to use the pool.
This isn't an area where I want to select the smallest component that can technically be made to work simply to reduce the initial proposal.
Properly sizing the equipment the first time is a lot less expensive than paying for it twice when the minimum wasn't enough.
Step 7: Tile and Coping
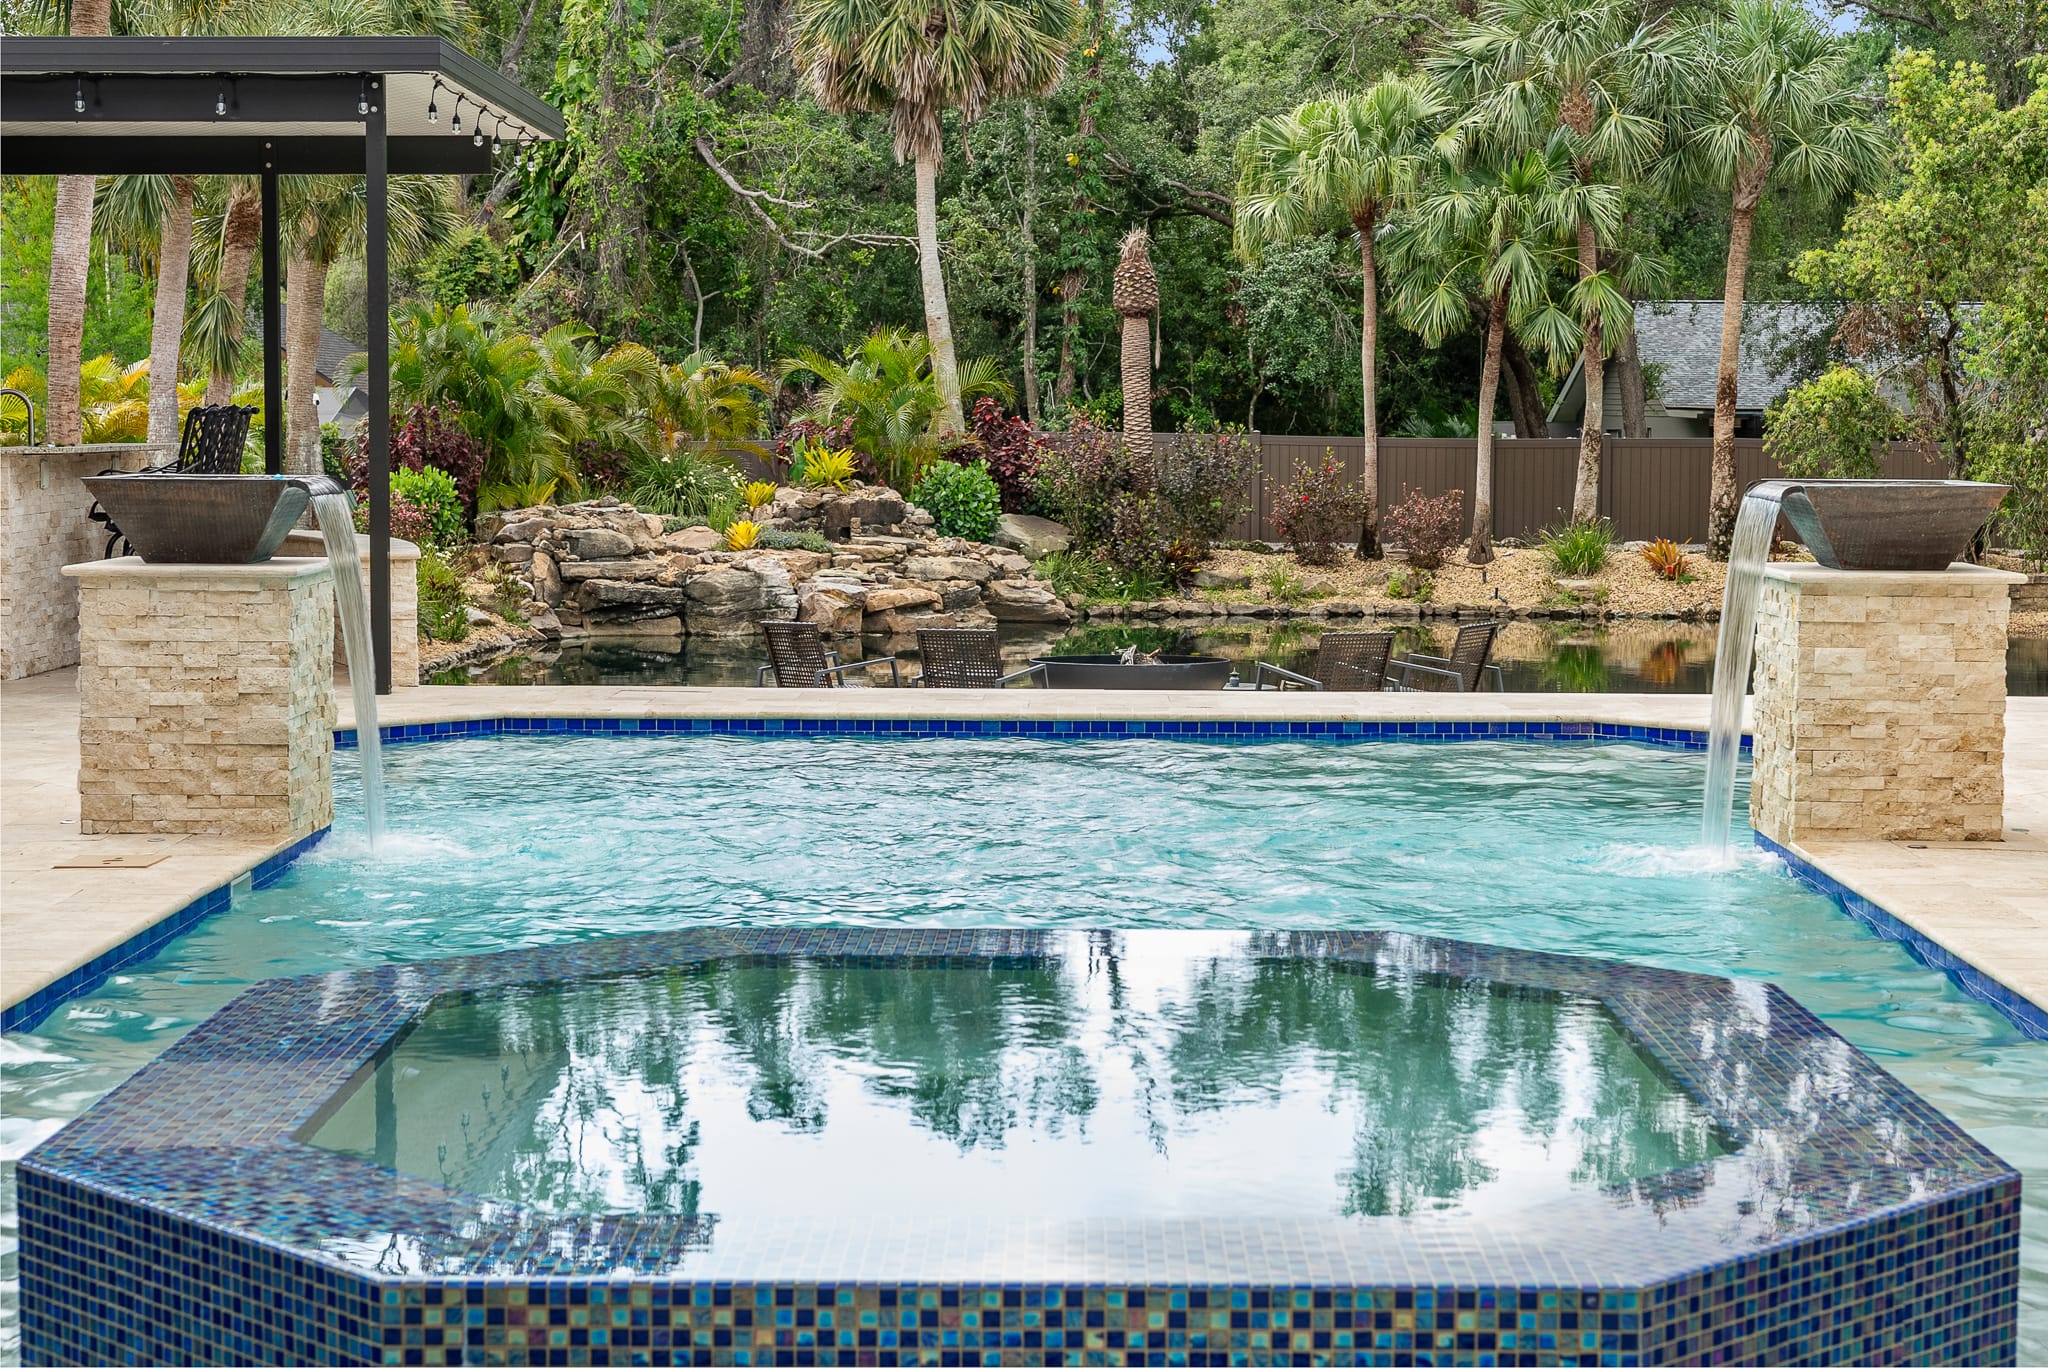
Now the project really begins taking on the personality of the original design.
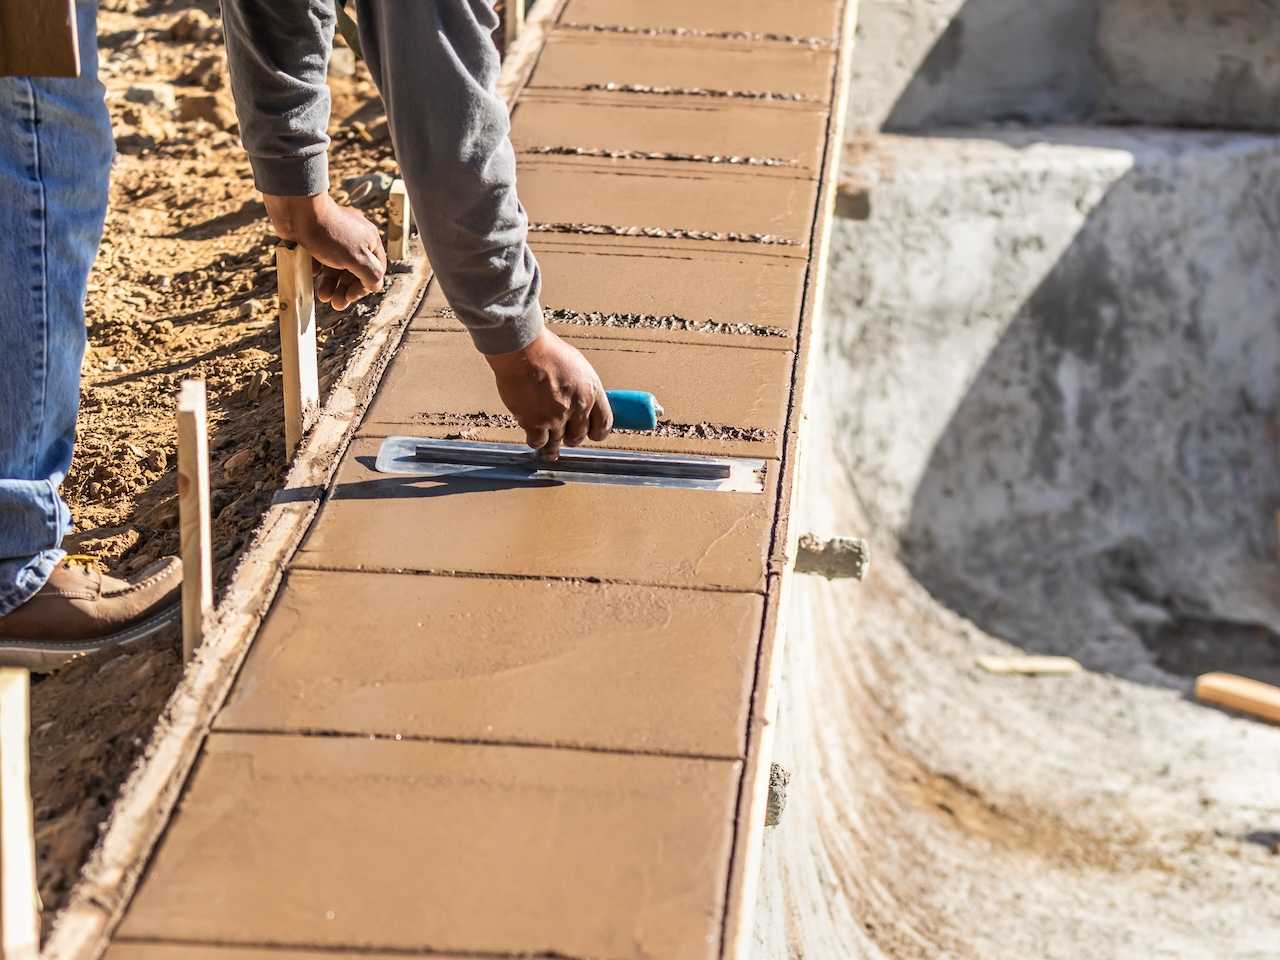
Waterline tile and coping are installed on the pool.
Material choices that were made months earlier start appearing in the actual backyard.
This is also where good design and proportion become very noticeable.
The tile, coping, pool shape, raised elements and surrounding materials should feel like parts of the same design, not individual selections that happened to end up next to one another.
Step 8: Footer and Decking
Depending on the property and project, this phase may include installation of a perimeter footer or other structural work before the deck is completed.
We particularly pay attention to this on properties where elevation, waterfront conditions or soil retention make additional support appropriate.
Then the deck begins transforming the construction site into an outdoor living space.
Brick pavers, concrete pavers, travertine, marble, porcelain and other materials all create very different finished environments.
But decking isn't only about appearance.
Elevation, drainage, structural support and installation all matter.
The best looking material in the world is still the wrong material if it isn't appropriate for the property or the way the homeowner intends to use the space.
Step 9: Screen Enclosure, Composite Roof and Other Structures
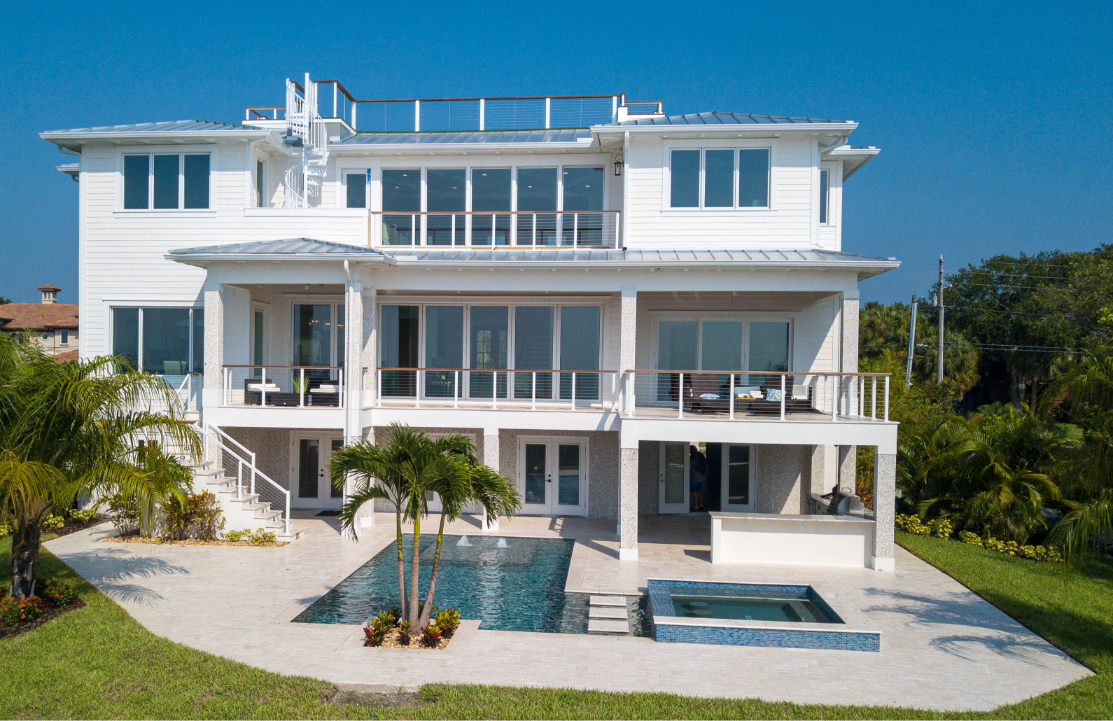
For many Florida homeowners, the swimming pool is only one part of the project.
The design may also include a screen enclosure, composite roof, covered living area or other structures associated with the outdoor space.
These components need to work with everything we've already built.
Column locations matter. Rooflines matter. Deck elevations matter. Views matter. Furniture placement matters.
This is another reason I prefer thinking about the entire backyard from the beginning rather than designing the swimming pool in isolation.
Steps 10 and 11: Interior Preparation and Homeowner Walkthrough
At this stage, we're getting close.
But before the final interior surface is installed, the pool shell needs to be properly prepared to receive it.
Preparation isn't the glamorous part of the project. The homeowner isn't choosing a color or watching a major structure appear in the backyard.
But proper preparation matters to the finished product.
This is true in new construction, and it's even more important during renovations where we're dealing with an existing pool and existing surfaces.
The objective is to give the final interior finish the properly prepared surface it needs before application.
Before the interior finish goes in, we perform a walkthrough with the homeowner.
I really like this part of our process.
At this point, the major construction phases are substantially complete, but we haven't installed the final interior surface yet. It's an opportunity to walk the project together, look at the finished details, discuss any remaining items and make sure we're ready for the final major application.
This is also an important transition. For months, the homeowner has watched a construction project develop in their backyard.
They're about to see it become a swimming pool.
Step 12: Interior Surface and Substantial Completion
This is one of the biggest visual transformations of the entire project.
The selected interior surface is installed, and the pool begins filling with water.
Until this point, you've been looking at a concrete structure.
Now it starts becoming the pool you originally envisioned.
This stage represents substantial completion of the project, but we're not quite finished.
A newly finished pool still needs to go through its startup process before we simply hand over the controls and walk away.
Step 13: Chemical Startup
A new pool interior requires a controlled startup as the surface begins curing underwater.
Water chemistry needs to be monitored and adjusted during this period, and the new surface requires appropriate care. The National Plasterers Council publishes the startup and curing guidance the industry works from.
This isn't something I think homeowners should have to figure out by watching videos online the day after their pool fills.
The startup process is part of completing the pool properly.
Step 14: Pool School
You've watched us build it.
Now we're going to teach you how to use it.
Pool School is where we walk the homeowner through the operation of their actual pool and equipment.
How does the automation work? How do you operate the spa? How do you turn water features on and off? How does the pump operate? What does the filter do? How does the heater work?
Every pool is a little different because every equipment package and feature set is a little different.
The goal isn't to turn the homeowner into a pool technician.
It's to make sure you're comfortable operating the pool you just invested in.
Step 15: Turnover to the Homeowner
Now it's yours.
The construction is complete. The pool is operational. The homeowner has been introduced to the equipment and controls.
The backyard that existed as a conversation during our first site visit, then as a 3D design, engineering plan and construction project, is finally something the family can use.
This is the part everybody has been waiting for.
But I don't think it's the last step.
Step 16: We're Here for You
Technically, the construction project is over.
Our relationship with the homeowner shouldn't be.
A custom swimming pool is a major addition to your home, and you're going to own it for a long time.
Questions will come up. Equipment will eventually need service. Technology will change. Years from now, you may decide you want to modify or renovate something.
And we have an advantage when that happens:
We built it.
We know what's underneath the deck. We know how the plumbing was designed. We know the equipment. We know the structure. We know why the pool was built the way it was.
That's why I don't think the final step in building a swimming pool should be handing the homeowner the controls and saying good luck.
The last step is being here after the project is over.
When you're choosing a pool builder, you're not just choosing the company that's going to build your pool.
You're choosing the company you want standing behind it after they do.
Frequently Asked Questions About Pool Construction
What are the main stages of building a concrete pool?
Site visit and design, engineering and permitting, yard scrape and layout, excavation and steel, shotcrete, rough plumbing, equipment set and electrical, tile and coping, footer and decking, any enclosure or structures, interior preparation, homeowner walkthrough, interior surface, chemical startup, Pool School and turnover. The order can shift with scheduling, inspections and site conditions.
What is the difference between shotcrete and gunite?
Both are pneumatically applied concrete, but they are mixed differently. With dry mix gunite, dry materials travel through the hose and water is added at the nozzle. With wet mix shotcrete, the concrete is properly batched before it is pumped and placed. Pool Perfection uses wet mix shotcrete for the consistency and process control it provides.
Why does site access affect a pool build so much?
Access determines the size of excavator that can reach the backyard and how efficiently material can be removed. Wider access allows larger equipment and faster material handling. Tighter access means smaller equipment, more labor and sometimes shuttling excavated material to a separate loading area.
How many returns should a new pool have?
At Pool Perfection, four pool returns are standard on new pools, alongside the skimmer, main drain, dedicated vacuum line and any plumbing required for spas, bubblers and water features. Circulation should be designed around the specific pool rather than reduced to a minimum.
What is Pool School?
Pool School is a walkthrough of your finished pool and its equipment. It covers how the automation works, how to operate the spa and water features, how the pump, filter and heater work, and how to run the system day to day. Every equipment package is a little different, so it is taught on your actual pool.
What happens after the pool is finished?
A new interior surface requires a controlled chemical startup while it cures underwater, with water chemistry monitored and adjusted during that period. After Pool School and turnover, the builder should remain available for questions, service and future renovation work on a pool they know from the ground up.
Start With a Walk of Your Property
Every one of these stages is shaped by decisions made at the very first site visit. That's where a custom pool actually begins.
Book a free design consultation with a Pool Perfection designer or call (727) 518-7665, and we'll start with your property, your access and how you want to use the backyard.